
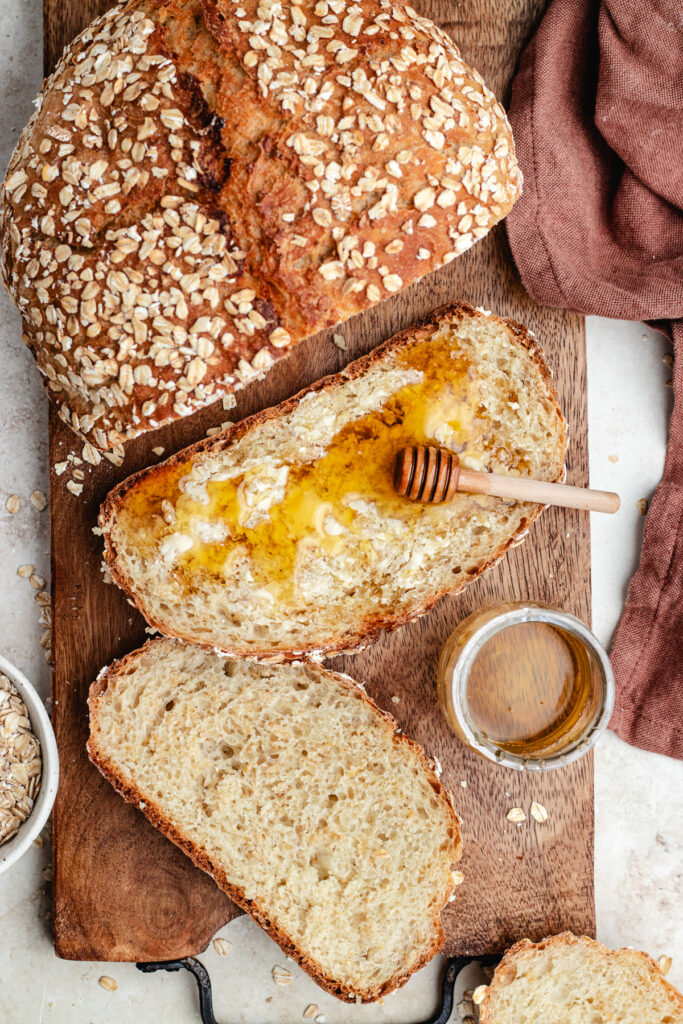
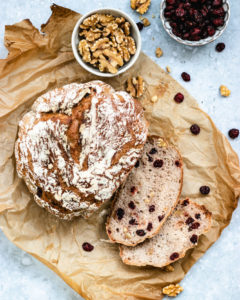
This No knead oatmeal bread is fast and easy to make. A rustic homemade bread, with a beautiful crust and a tender and fluffy inside. Filled with flavor and great texture from the oats and honey.
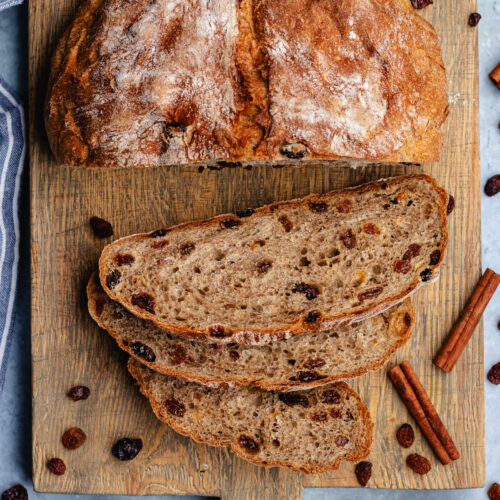
The best part about this no knead honey oatmeal bread is how simple it is to make. There is no kneading required, just a quick mix, time for the dough to rise, and then baking in a hot Dutch oven for bakery-style results at home. Just like this No knead olive bread or this No knead cinnamon raisin bread.
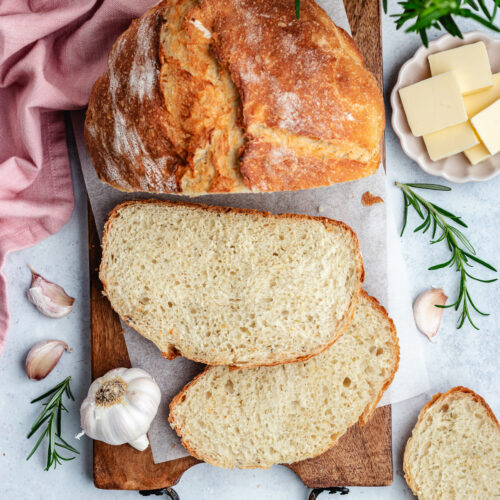
Baking the bread in a Dutch oven gives a golden and crusty outside, while staying fluffy and soft on the inside.
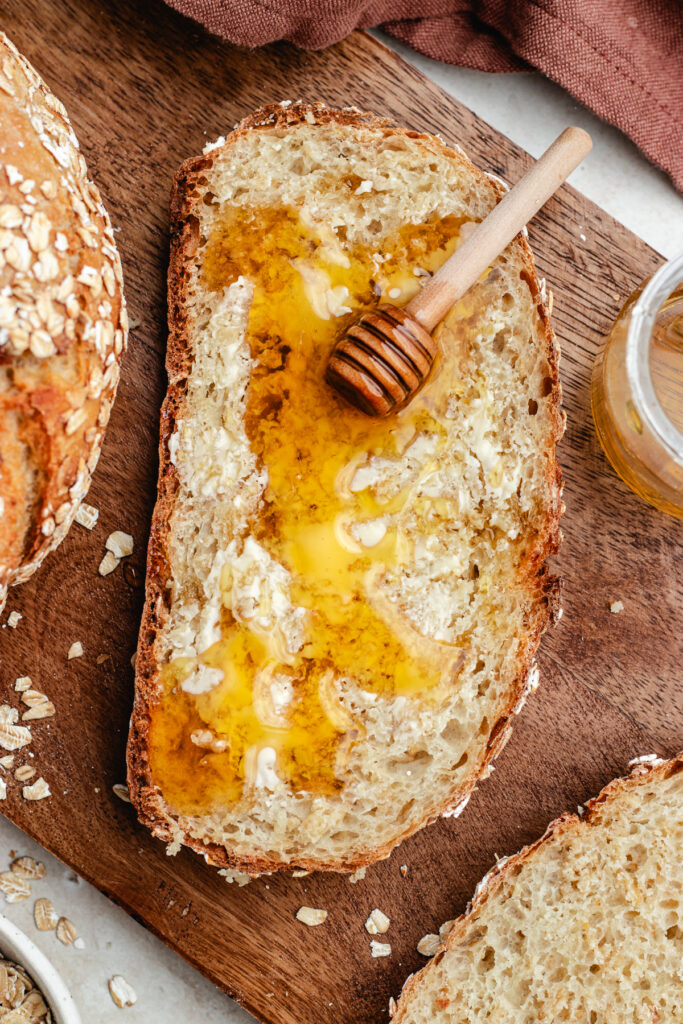
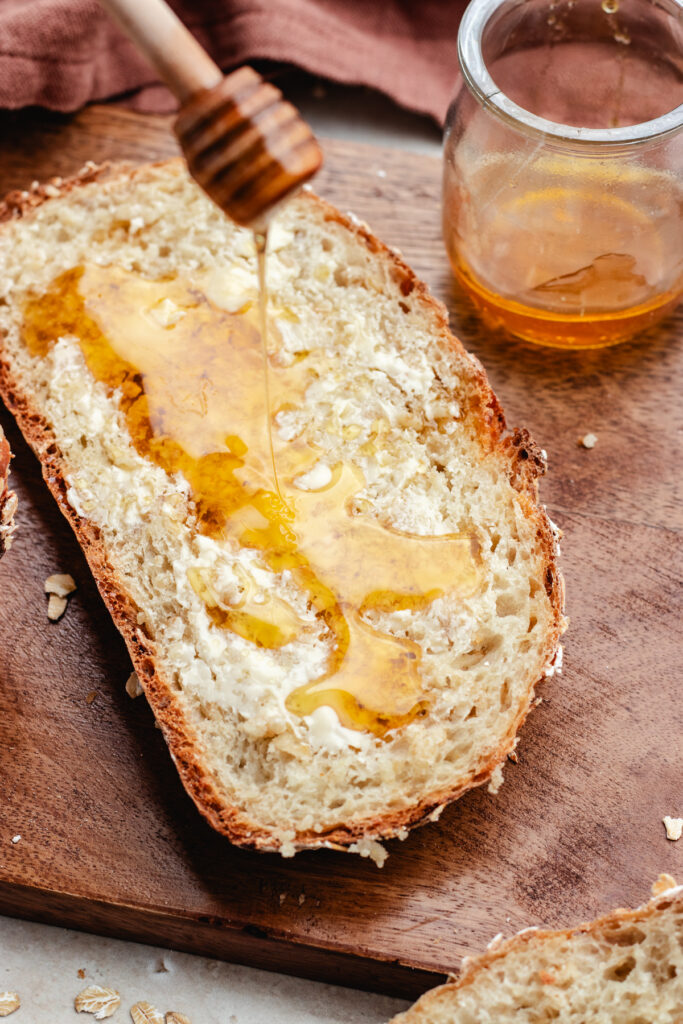
Oats add a delicious nutty flavor and extra texture, while honey gives the bread a subtle natural sweetness. This easy honey oatmeal bread is perfect for sandwiches, toast, soups, or simply toasted topped with butter.
Jump to:
Ingredients
To make this easy dutch oven oatmeal bread, all you need are a few basic ingredients.
For the full ingredient measurements, scroll down to view the recipe card at the bottom of the page.

- Luke warm water, the water should be warm, but not hot to the touch or it will kill the yeast. Around 110F (40C) is a good temperature. Just a little warmer than the body temperature.
- Active dry yeast, make sure it is fresh and not expired, or the bread will not rise.
- Honey, give the bread a lovely sweetness and also helps activate the yeast.
- Bread flour, use a good quality flour. I prefer to weigh the flour when I am baking, that will give the most accurate amount.
- Oats, rolled oats will give the best texture for this no knead honey oat bread recipe.
- Salt, this bread needs salt to bring out the flavours, regular table salt works great.
See recipe card for quantities.
Instructions
This no knead honey oat bread is really easy to make, just stir the dough together and follow along with the step-by-step photos below.
For the full instructions see the recipe card at the bottom.

- Step 1: In a mixing bowl, add the lukewarm water, honey and yeast. Let it sit for 10 minutes.
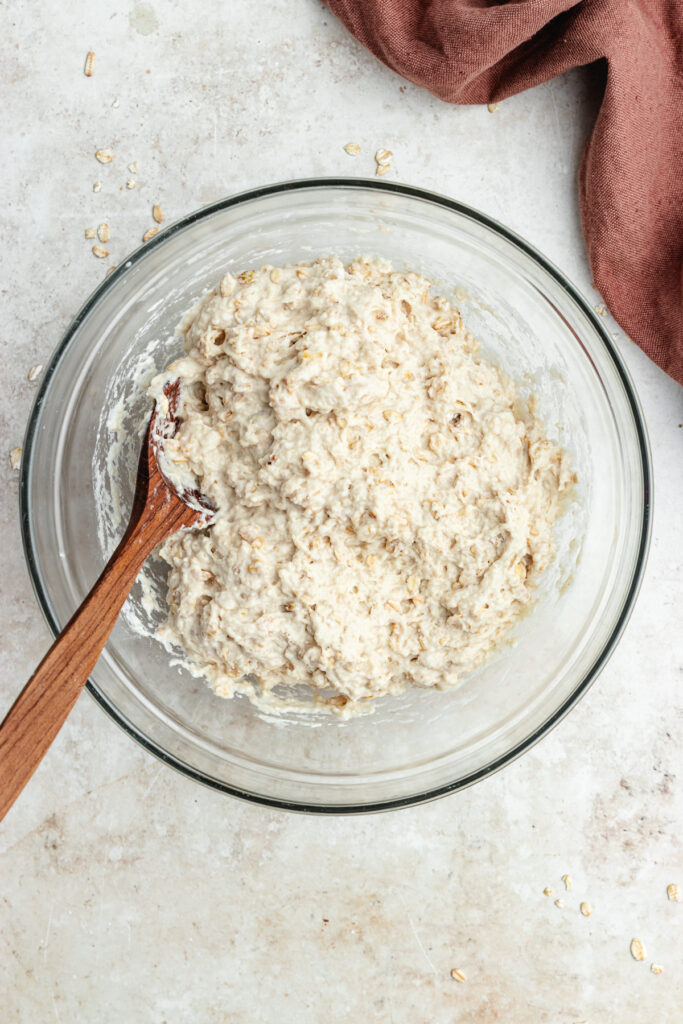
- Step 2: Stir in the flour, oats and salt and with a spoon. The dough will be loose and sticky.

- Step 3: cover the bowl with plastic wrap or a kitchen towel and let it rise until doubled in size.

- Step 4: Scrape out the dough unto a well floured pice of parchment paper. The dough will still be sticky so sprinkle with flour so it wont stick to your fingers. Gently fold the outer edges of the dough to the center to form a ball.
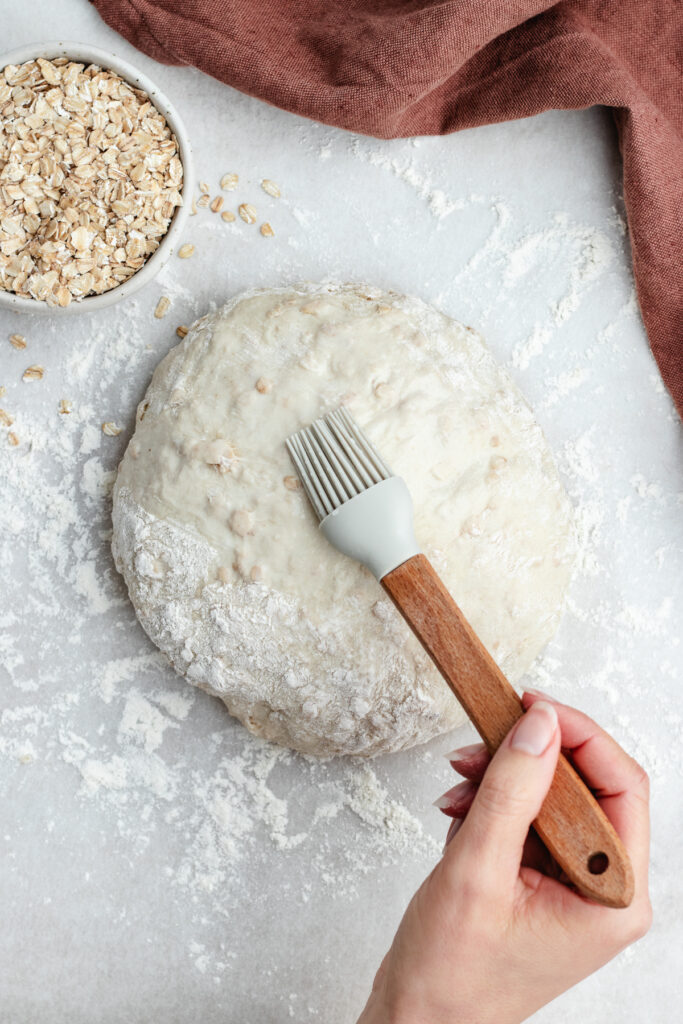
Step 5: Flip it around and optionally lightly brush with a little water.
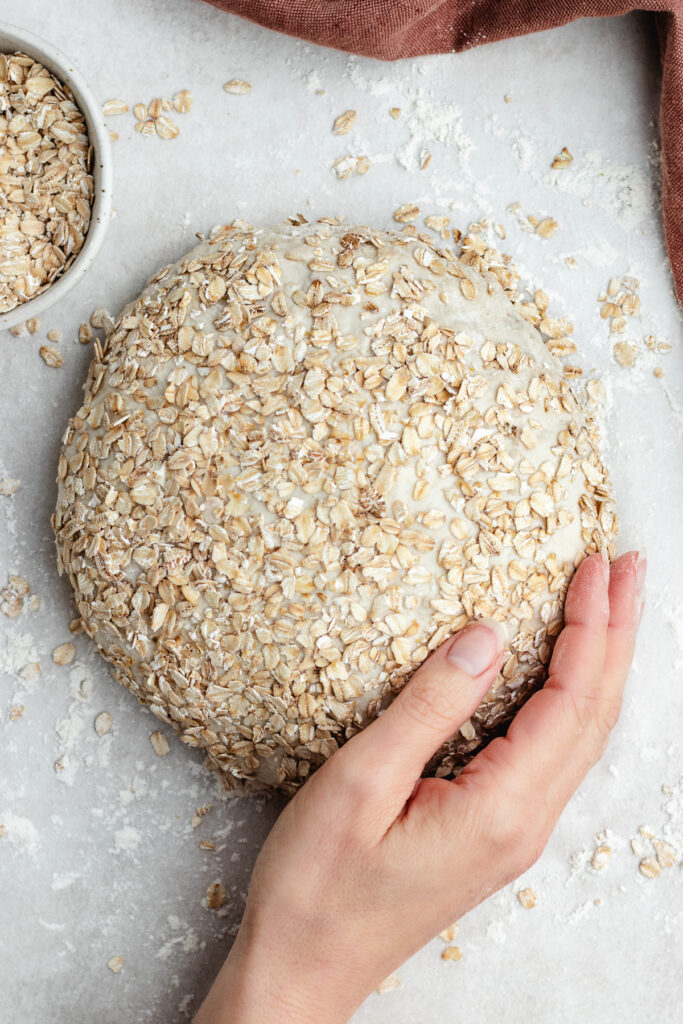
Step 6: Sprinkle some rolled oats on top. Cover with a kitchen towel and let it rise until the Dutch oven is hot.

Step 7: Carefully take out the Dutch oven, it will be very hot! Remove the lid and gently lift the bread with the parchment paper and place inside.

Step 8: Cover with the lid and bake, then remove the lid and bake for another 5-10 more minutes.
Hint: Ones the bread is baked, take it out of the dutch oven and let the bread cool down for on a cooling rack for about 30 minutes before slicing it.
Why Bake Bread in a Dutch Oven
Baking the bread in a Dutch oven is one of the easiest ways to achieve bakery-quality bread at home. The Dutch oven traps steam inside the pot while the bread bakes. This steam helps the dough rise properly and creates a crispy golden crust while the interior is soft and fluffy. Achieve professional-looking homemade bread using this method.
No Dutch oven pot?
No problem, you can still bake this bread in two ways:
- Cast iron skillet, preheat the skillet and then place the bread on it. Cover the bread with an oven safe pyrex bowl, enamel, or ceramic bowl and bake as directed.
- Baking sheet, place the bread on a baking sheet lined with parchment paper. Throw in a small glass of water in the bottom of the oven (not on the bread) before closing the oven door. The steam will give the bread a crispier crust.

Substitutions and Variations
- Nuts – For a little crunch, add in some roughly chopped nuts like walnuts or pecans to your bread.
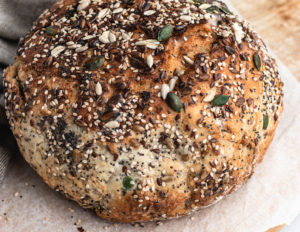
- Seeds – Top the bread with some crunchy seeds like pumpkin or sunflower seeds.
- Flour – For the fluffiest bread, I recommended using bread flour but all purpose flour also works well.
- Sweetener – The honey gives a lot of flavor and some sweetness to this honey oat bread. It can also be replaced with other liquid sweetener like maple syrup or agave, Normal caster sugar or brown sugar also works. These are all good vegan alternatives.

Serving Suggestions
Eat this honey oatmeal bread as is, or topped with one of the options below. It also makes excellent breakfast toast.
- Toasted with butter or jam, try this homemade Strawberry Chia Jam.
- Topped with avocado like this Avocado Toast with tomato.
- Spread with some nut butter, store bought or this homemade Pecan Almond Butter
- Served with soups like this Lentil and sweet potato soup or this Vegetable Rice Soup.
- Used for sandwiches topped with some Chickpea Salad.
- Served with hummus or a spread like this Zucchini dip or Pesto Hummus.
Baking Tips for Perfect Homemade Bread
If you’re new to baking bread, here are a few of my best tips:
- Measure the ingredients correctly – Using a kitchen scale will give the absolute best result.
- Use warm water for the yeast – Water that is too hot can kill the yeast, while cold water slows fermentation, around 110F (40C) is the perfect temperature. Leave the yeast for about 5-10 minutes until foamy before adding the flour, oats and salt.
- Use bread flour – Bread flour contains more protein than all-purpose flour, which helps create a better structure and chewier texture. If you don’t have bread flour, all purpose lour will also work.
- The dough should be slightly sticky – Adding too much flour can make the bread dense. A sticky dough produces a lighter loaf.
- Give the dough enough time to rise – Leave the dough to rise in a warm and draft free place. The dough is ready when it has doubled in size and will spring back after lightly pushing down with your finger.
- Preheating the Dutch oven – A hot Dutch oven creates steam and helps the bread rise quickly.
- Let the bread cool fully – Cutting bread when it is still piping hot with give you a compact and deflated slice of bread.
These tips will help you bake perfect no knead bread every time!

Storage
This bread tastes best fresh, the same day it is baked, like all breads! It can be stored for up to 4 days in a bread box, airtight container or plastic bag. I like to slice any leftovers before storing and then pop them in the toaster.
This no knead oat artisan bread also freezes well. Use a freezer friendly plastic bag and try to remove as much air as possible before sealing the bag well. Freeze for up to 3 months. Let the bread defrost in room temperature before serving, or toast slices directly from frozen.
FAQ
Yes, this bread can be made with both bread flour and all-purpose flour. The bread flour will give the bread a better structure and slightly chewier texture.
Yes, the honey can be replaced with maple syrup or caster sugar.
Yes! Nuts and seeds give this bread a great crunch and flavor. Some good options are, sunflower seeds, pumpkin seeds, chopped walnuts or pecans are great additions to your oatmeal bread.
If your bread turns out slightly dense it could be because there too much flour added. Make sure to measure the flour correctly and preferably use a kitchen scale for the best result. The bread might not have risen properly, use fresh yeast and leave the dough to rise in a warm and draft free spot. Also ensure the bread is baked long enough to be cooked through and light and fluffy.

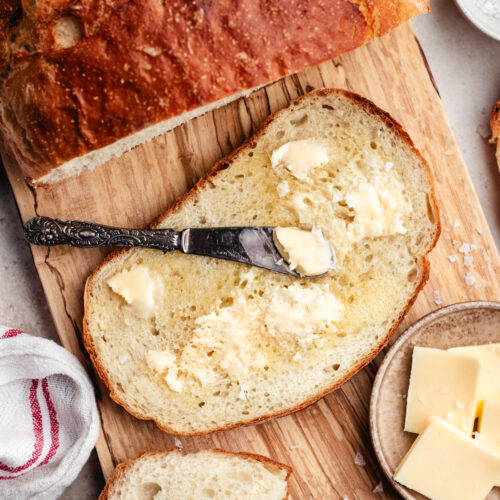
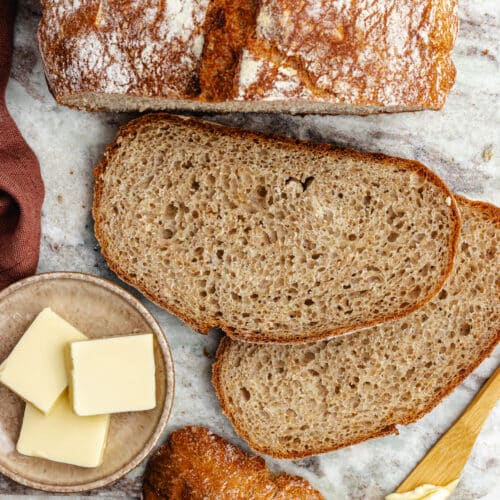
Bread Recipes


I WOULD LOVE TO HEAR FROM YOU!
Let me know what you think by leaving a comment down below, and tagging me at @thedeliciousplate in your picture on Instagram. Your feedback is so helpful! Also, don’t forget to subscribe to my newsletter to be sure not to miss my latest recipes!

This No knead oatmeal bread is fast and easy to make. A rustic homemade bread, with a beautiful crust and a tender and fluffy inside. Filled with flavor and great texture from the oats and honey.
- 1 ½ cups (340g) Lukewarm water (110F or 40C)
- 2 ¼ teaspoon (7g) instant yeast
- 3 tablespoons honey, or maple syrup
- 3 cups (370g) bread flour, and more for dusting
- 1 cup (100g ) rolled oats
- 1 teaspoon salt
-
In a mixing bowl, add the lukewarm water (110F), honey and yeast. Let it sit for 10 minutes until the yeast is starting to foam.
-
Stir in the flour, oats and salt with a spoon. The dough will be loose and sticky. Cover the bowl with plastic wrap or a clean kitchen towel. Let the dough rise in a warm and draft free spot for about an hour or until double in size.
-
After an hour, turn on your oven to 450F (230C). Place a Dutch oven with the lid in the oven to heat for about 30 minutes.
-
Scrape out the dough unto a well floured pice of parchment paper. The dough will still be sticky so sprinkle with flour so it wont stick to your fingers or the paper.
-
Gently fold the outer edges of the dough to the center to form a ball. Flip it around and cover with a kitchen towel for 30 minutes until the Dutch oven in hot. (Optional: brush the bread lightly with water and sprinkle some rolled oats on top)
-
Carefully take out the Dutch oven, it will be very hot! Remove the lid and gently lift the bread with the parchment paper and place inside. Cover with the lid and bake for 30 minutes. Then remove the lid and bake for 10 more minutes.
-
Let the bread cool down for about 30 minutes before you slice it.
Best eaten freshly baked, but keeps for about 3-4 days. Slice and freeze the leftovers so you can enjoy for longer.

Leave a Reply